视频演示
安装过程的视频教程
安装过程的视频教程
请参见 Asciinema 终端录像: Vonng
标准安装
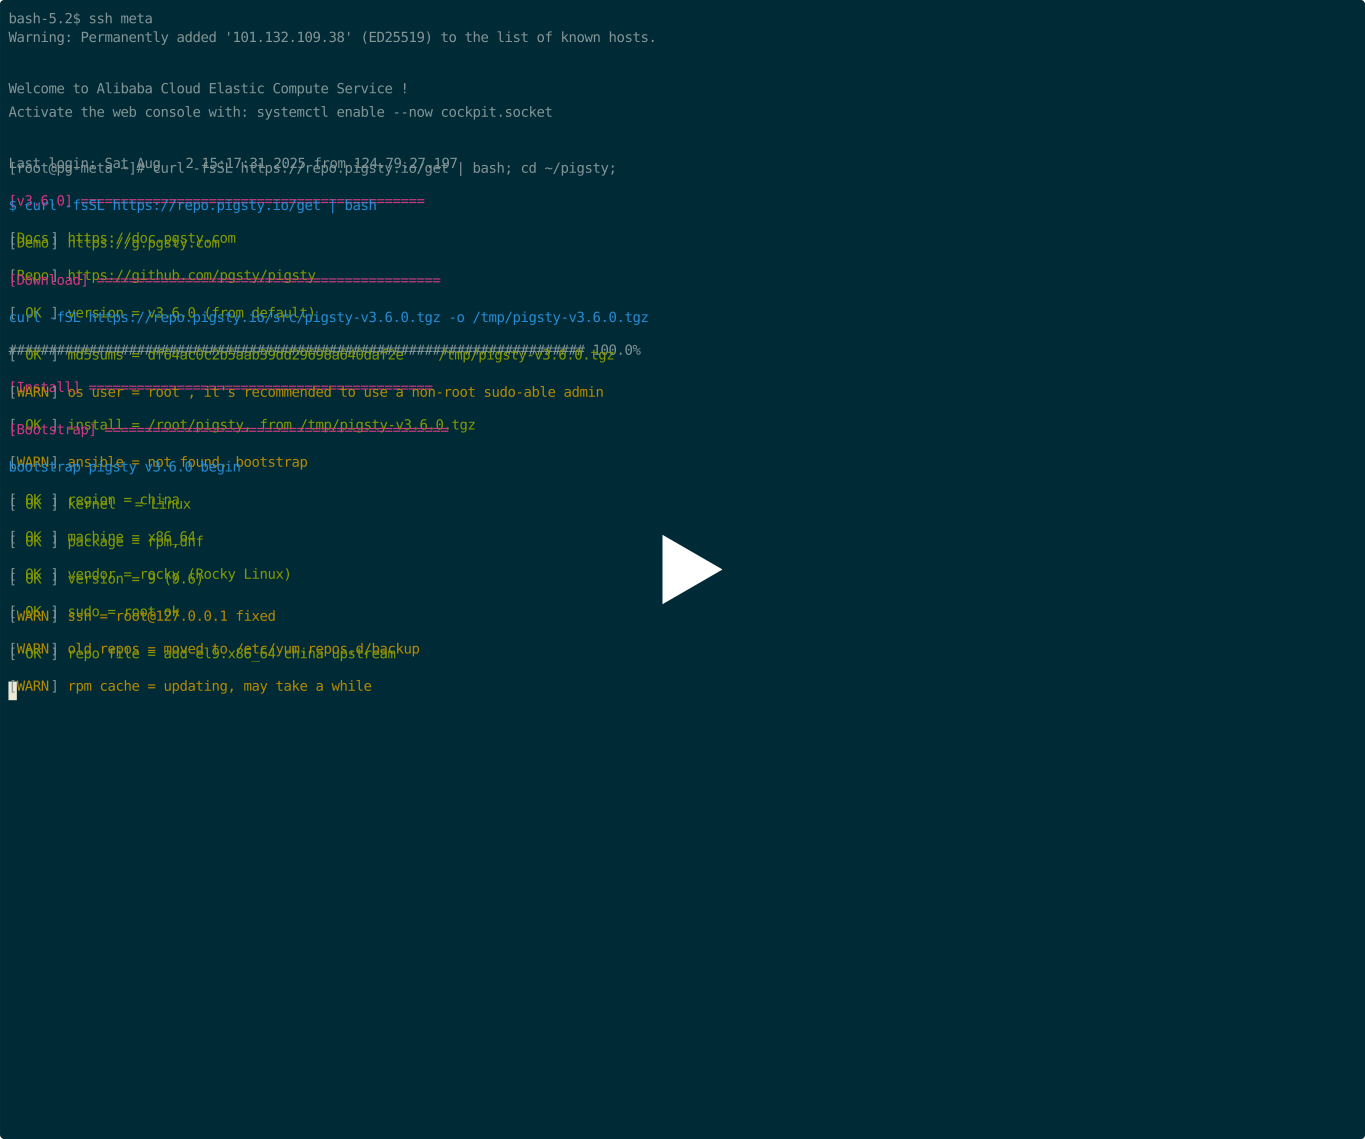
Pigsty v3.6.0, RockyLinux 9.6, x86_64, 标准安装, Link
这会使用默认的 meta 单节点配置模板,从互联网直接安装所有所需软件包。
curl -fsSL https://repo.pigsty.io/get | bash -s v3.6.0; cd ~/pigsty;
./configure
./install.yml
完整安装
Pigsty v3.6.0, Ubuntu 24.04.2, x86_64, 完整安装
完整安装使用 rich 模板,在标准安装的基础上,有以下区别于改动:
- 尽可能安装(但不都启用)所有 PostgreSQL 扩展插件
- 构建本地软件仓库,先下载到本地仓库,再让所有节点都从本地软件仓库进行安装
- 1 node minio used as central backup repo
- cluster stub for 3-node pg-test / ferret / redis
- stub for nginx, certs, and website self-hosting config
- detailed comments for database / user / service
./configure -c rich     # use the conf/rich.yml template
./install.yml
curl -fsSL https://repo.pigsty.io/get | bash -s v3.6.0; cd ~/pigsty;
./configure -i rich
vi pigsty.yml   # edit password
./install.yml
make tu tssh
asciinema rec
ssh meta
ls /www/pigsty
cat ~/pigsty/pigsty.yml | grep node_repo_modules
sudo su - postgres
pg list
pb info
pg-backup incr
pb list
psql
SELECT * FROM pg_available_extensions;
Slim Install
Pigsty v3.6.0, Debian 12.11, aarch64, Slim Installation, Link
Postgres HA Cluster with essential modules, (with ETCD, without INFRA).
asciinema rec
ssh meta
curl -fsSL https://repo.pigsty.io/get | bash -s v3.6.0; cd ~/pigsty;
./configure -i slim
./slim.yml
sudo su - postgres
psql
Offline Install
Pigsty v3.6.0, RockyLinux 9.6, aarch64, Slim Installation
# download this offline package and put it to /tmp/pkg.tgz, we just skip downloading here
# curl https://github.com/pgsty/pigsty/releases/download/v3.6.0/pigsty-pkg-v3.6.0.el9.x86_64.tgz -o /tmp/pkg.tgz
scp ~/pigsty/dist/v3.6.0/pigsty-v3.6.0.tgz meta:~/pigsty.tgz

# download source package and extract it to ~/pigsty, we just skip downloading here
# curl https://github.com/pgsty/pigsty/releases/download/v3.6.0/pigsty-v3.6.0.tgz -o ~/pigsty.tgz; tar xzf ~/pigsty.tgz -C ~/
scp ~/pigsty/dist/v3.6.0/pigsty-pkg-v3.6.0.el9.aarch64.tgz meta:/tmp/pkg.tgz

ssh meta
tar -xf pigsty.yml  # extract pigsty source tarball
cd pigsty           # enter pigsty home dir
./bootstrap         # now bootstrap pigsty from local repo
./configure         # generate pigsty.yml
vi pigsty.yml       # use local repo rather than install from the internet upstream repo
#node_repo_modules: local

./install.yml
Supabase
Pigsty v3.6.0, Ubuntu 24.04, x86_64, Install Supabase
curl -fsSL https://repo.pigsty.io/get | bash -s v3.6.0; cd ~/pigsty;
./configure -c supabase
./install.yml
./docker.yml   # install docker & docker-compose
./app.yml      # launch supabase docker app with docker compose
vi pigsty.yml


curl -fsSL https://repo.pigsty.cc/get | bash -s v3.6.0; cd ~/pigsty
./configure -c supabase    # 使用 supabase 配置(请在 pigsty.yml 中更改凭据)
vi pigsty.yml              # 编辑域名、密码、密钥...
./install.yml              # 安装 pigsty
./docker.yml               # 安装 docker compose 组件
./app.yml                  # 使用 docker 启动 supabase 无状态部分


cd /opt/supabase
docker ps

sudo su - postgres
pg list
pb info
pg-backup incr
pb info

psql
\dn
\l
\du
table pg_available_extensions;

\c supabase
\dn
\du

# Now let's setup your domain name and HTTPS certificates
ssh meta            # the temp cloud server for the supabase demo
dig supa.pigsty.cc  # let's use this as example, use your domain name instead, and resolve it to your server IP
cd ~/pigsty/
grep supa.pigsty pigsty.yml -a2 -b2
sed -ie 's/supa.pigsty/supa.pigsty.cc/g' pigsty.yml  # rename old supa.pigsty domain placeholder to your domain name
sed -ie 's/supa.pigsty.cc/supa.pigsty/g' pigsty.yml  # rename old supa.pigsty domain placeholder to your domain name
grep supa.pigsty pigsty.yml -a2 -b2
curl -i https://supa.pigsty.cc