ls /www/pigsty
cat ~/pigsty/pigsty.yml | grep node_repo_modules
sudo su - postgres
pg list
pb info
pg-backup incr
pb list
psql
SELECT * FROM pg_available_extensions;
# download this offline package and put it to /tmp/pkg.tgz, we just skip downloading here# curl https://github.com/pgsty/pigsty/releases/download/v3.6.0/pigsty-pkg-v3.6.0.el9.x86_64.tgz -o /tmp/pkg.tgzscp ~/pigsty/dist/v3.6.0/pigsty-v3.6.0.tgz meta:~/pigsty.tgz
# download source package and extract it to ~/pigsty, we just skip downloading here# curl https://github.com/pgsty/pigsty/releases/download/v3.6.0/pigsty-v3.6.0.tgz -o ~/pigsty.tgz; tar xzf ~/pigsty.tgz -C ~/scp ~/pigsty/dist/v3.6.0/pigsty-pkg-v3.6.0.el9.aarch64.tgz meta:/tmp/pkg.tgz
ssh meta
tar -xf pigsty.yml # extract pigsty source tarballcd pigsty # enter pigsty home dir./bootstrap # now bootstrap pigsty from local repo./configure # generate pigsty.ymlvi pigsty.yml # use local repo rather than install from the internet upstream repo#node_repo_modules: local./install.yml
vi pigsty.yml
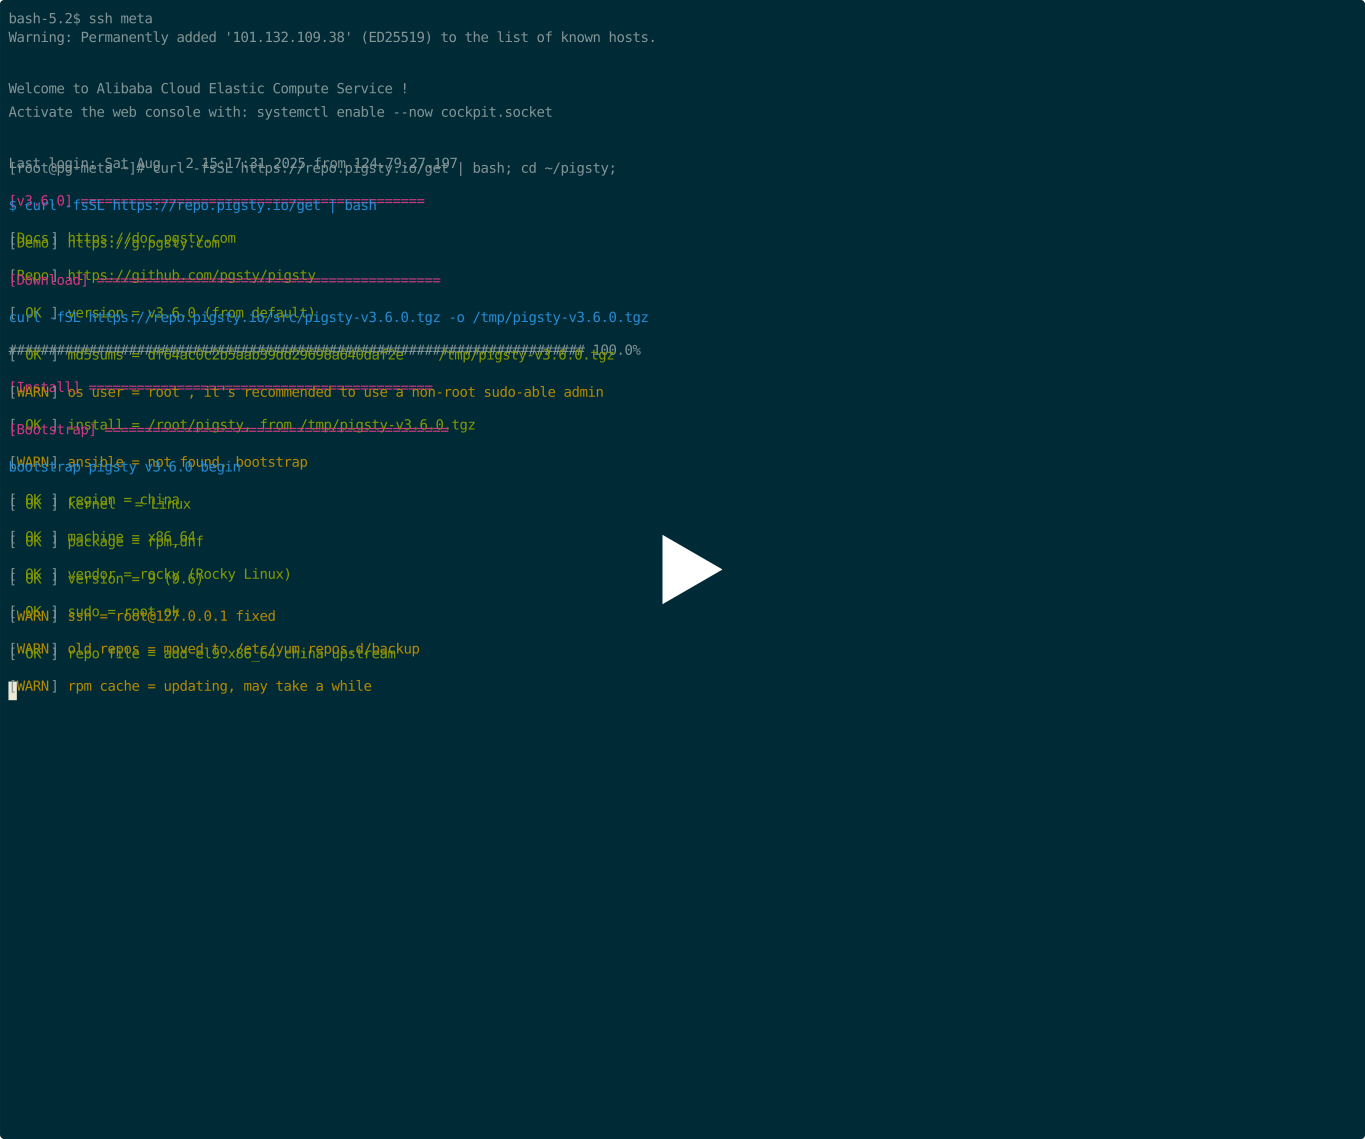
curl -fsSL https://repo.pigsty.cc/get | bash -s v3.6.0;cd ~/pigsty
./configure -c supabase # 使用 supabase 配置(请在 pigsty.yml 中更改凭据)vi pigsty.yml # 编辑域名、密码、密钥..../install.yml # 安装 pigsty./docker.yml # 安装 docker compose 组件./app.yml # 使用 docker 启动 supabase 无状态部分cd /opt/supabase
docker ps
sudo su - postgres
pg list
pb info
pg-backup incr
pb info
psql
\dn
\l\du
table pg_available_extensions;\c supabase
\dn
\du
# Now let's setup your domain name and HTTPS certificates
ssh meta # the temp cloud server for the supabase demodig supa.pigsty.cc # let's use this as example, use your domain name instead, and resolve it to your server IPcd ~/pigsty/
grep supa.pigsty pigsty.yml -a2 -b2
sed -ie 's/supa.pigsty/supa.pigsty.cc/g' pigsty.yml # rename old supa.pigsty domain placeholder to your domain namesed -ie 's/supa.pigsty.cc/supa.pigsty/g' pigsty.yml # rename old supa.pigsty domain placeholder to your domain namegrep supa.pigsty pigsty.yml -a2 -b2
curl -i https://supa.pigsty.cc